Individual assignment:
Design and produce something with a digital fabrication process (incorporating computer-aided design and manufacturing) not covered in another assignment, documenting the requirements that your assignment meets, and including everything necessary to reproduce it.
What You mean by a Composite ?
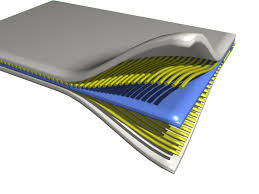
A composite is a material made from two or more different materials that, when combined, are stronger than those individual materials by themselves. Most composites are made of just two materials. One is the matrix or binder. It surrounds and binds together fibres or fragments of the other material, which is called the reinforcement.
Link with Final Project
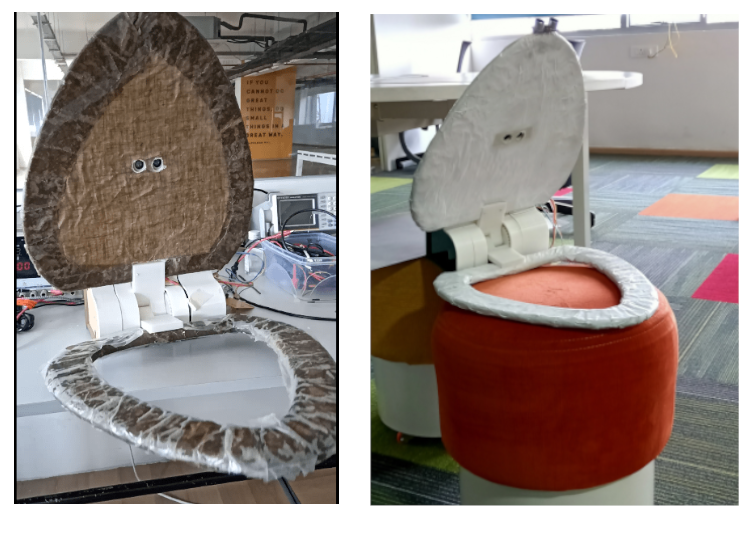
I decided to fabricate toilet seat covers (top and bottom) by composite. For my project I was looking for a lightweight, rigid material. Then my instructors told me that composite can serve my purpose and thus I started fabricating composite for my seat cover. I have two parts to fabricate the top cover and seat cover. The mold I chose was 10mm thermocol sheets that were available in my lab. My other Fab mates helped me to do the composite making
Materials
Softwares
Machines
Gears
Cautions!!
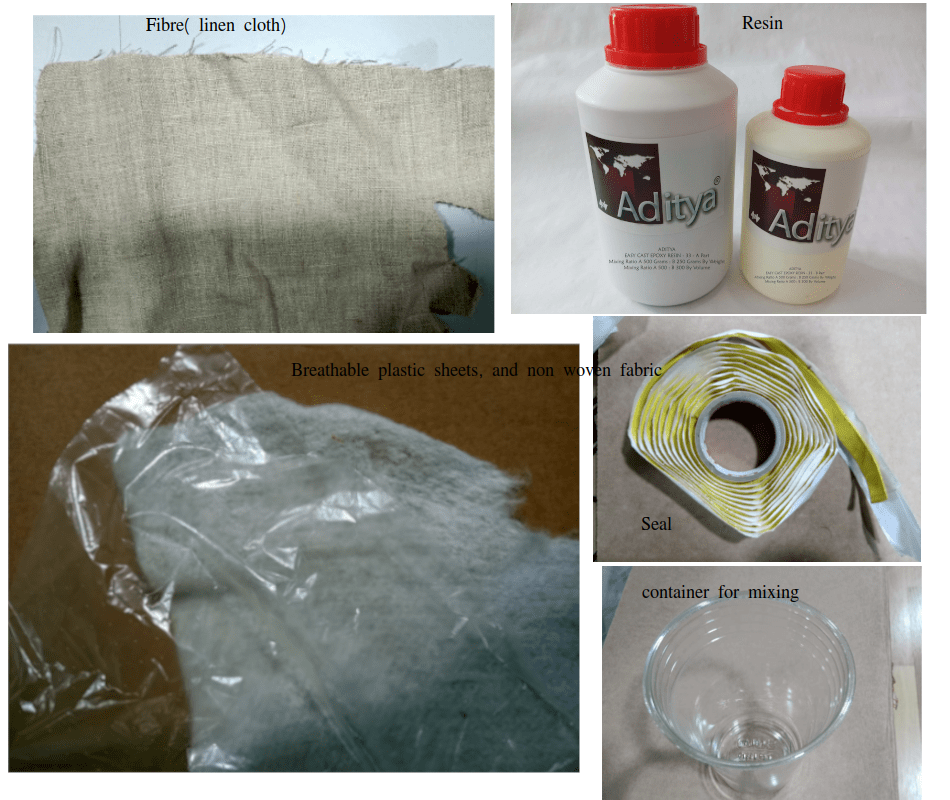
Ventilation – Use only in a well ventilated area and avoid breathing fumes. Wearing a NIOSH approved respirator is recommended.
Pre-Mixing – Stir or shake Part A and Part B thoroughly before dispensing.
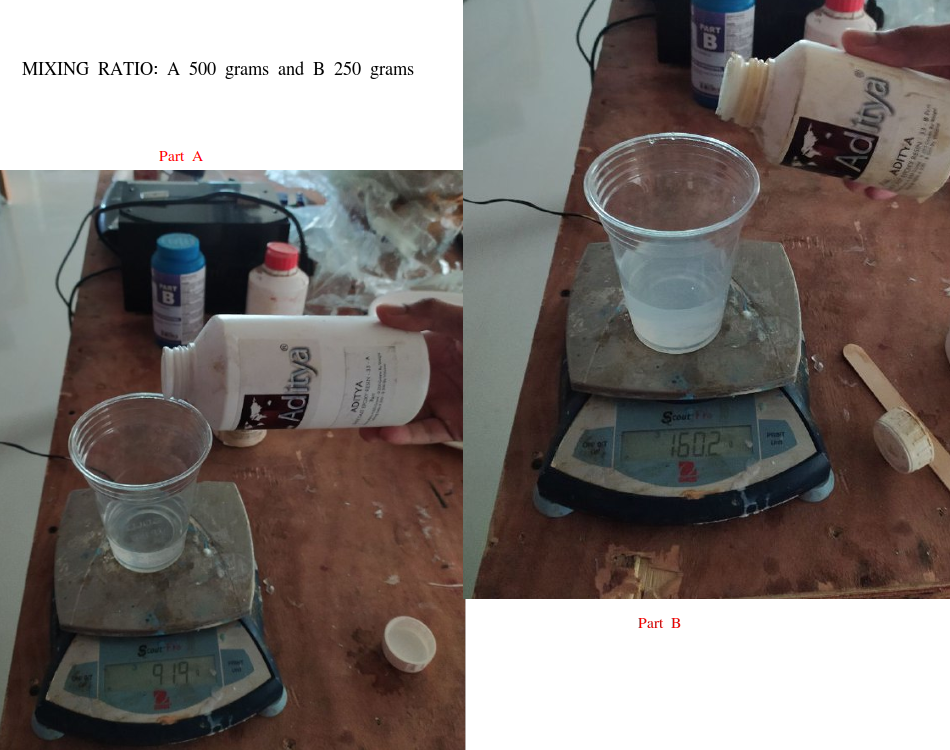
Mixing – Pour the content of part A to a clean container, mix it using a mixing stick , then pour part B content into it slowly. Make sure air is not getting into content while mixing. Now mixture have become hot, Use the mixture before its pot life
Mixing Ratio-
Fibre Laying process- Apply the resin thoroughly onto fibre sheets and excess should be removed. Then place the fibre sheets layer by layer over the mold
Design part 1
I used Fusion 360 for designing the top and seat cover. For dimensions I referred to some sketches of seat covers and specifications of commercially available toilet seat cover. Then I created sketches of cover useful to my purpose
Now the design for the mold is ready, I projected the skecthes and exported it by DXF format for cutting.
Design part 2
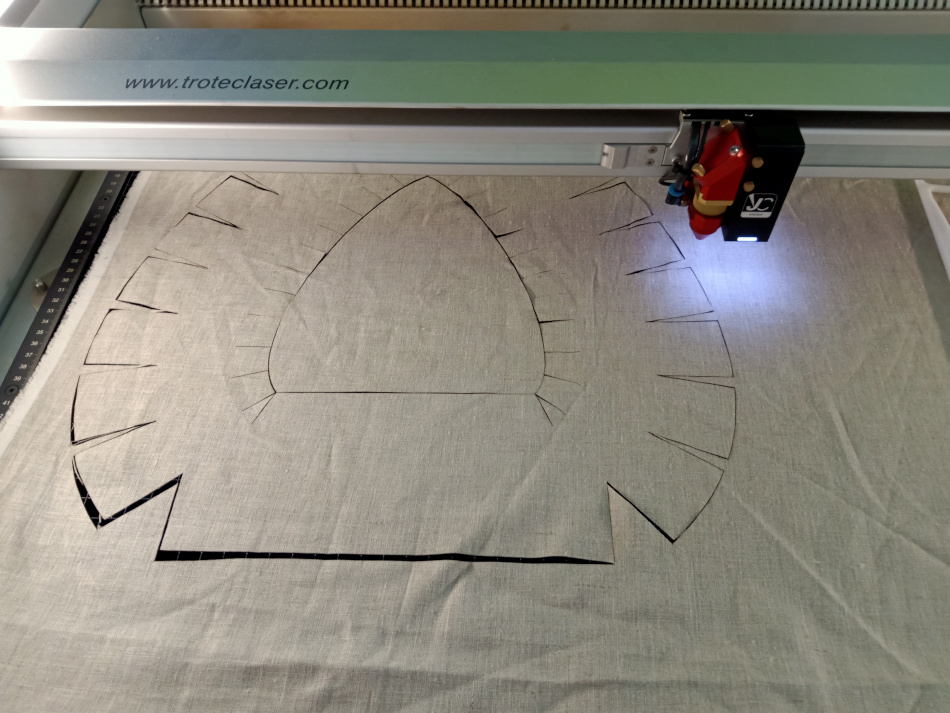
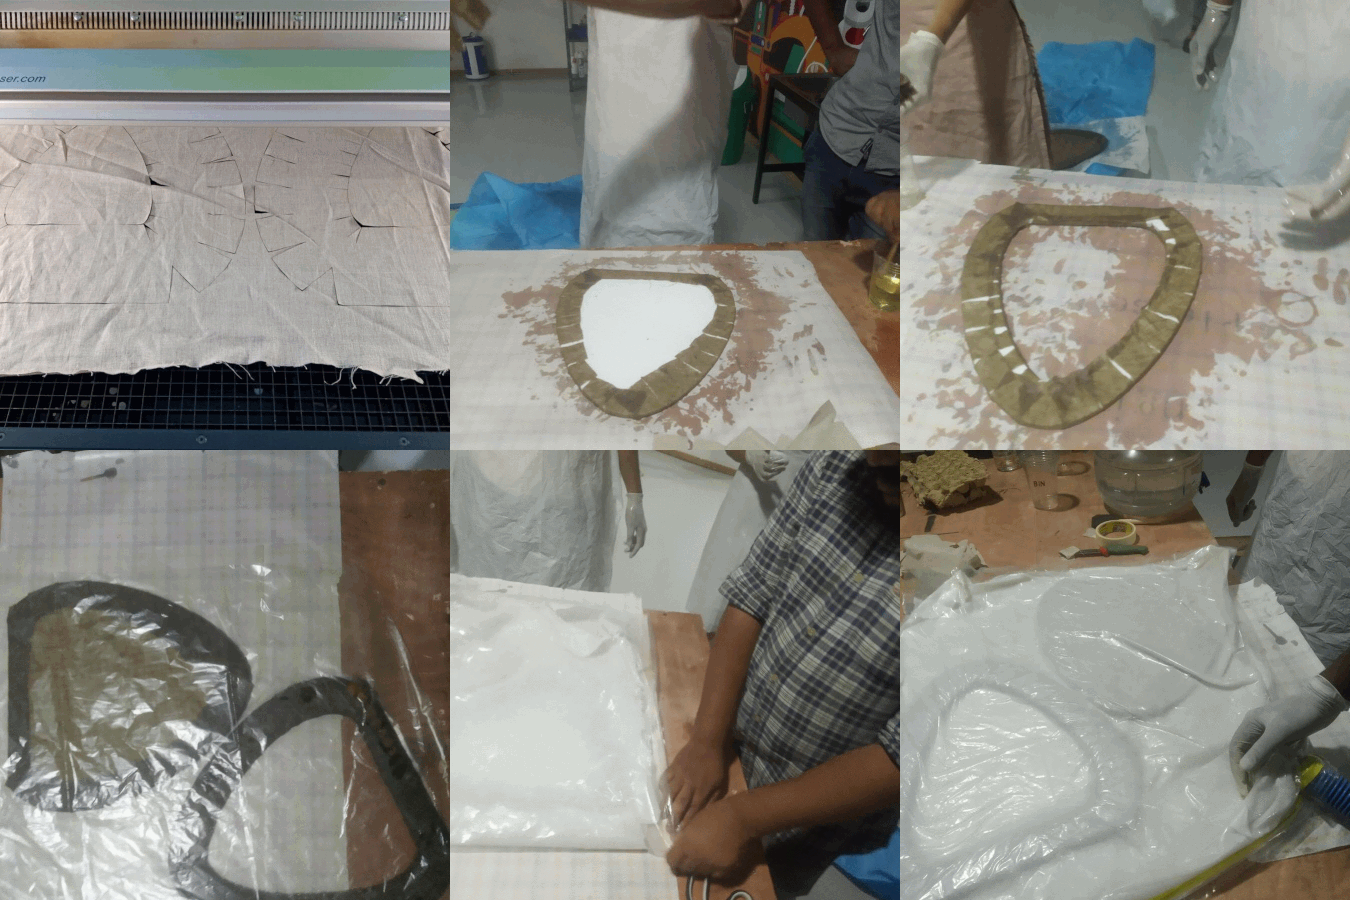
Now I need to cut the fabric (fibre ) sheets for wrapping around the mold. For that sketched a design to do laser cutting. In profile sketching I have given spacing to avoid floods while wapping the fabric.
Laser Cutter
Trotec laser cutter is used to cut fabric. I imported a DXF file of the profile sketch and using inkscape I gave it a red color. Code red color is given as a cutting operation in our trotec interfacing application. I repeated the task for the required number of fibers.
CNC Foam Cutter
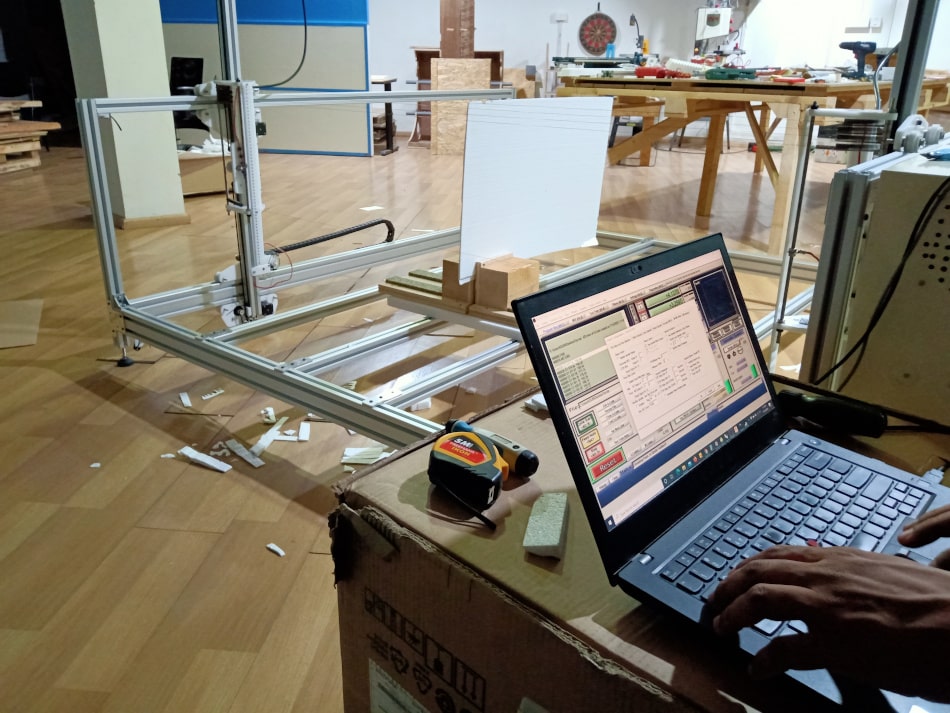
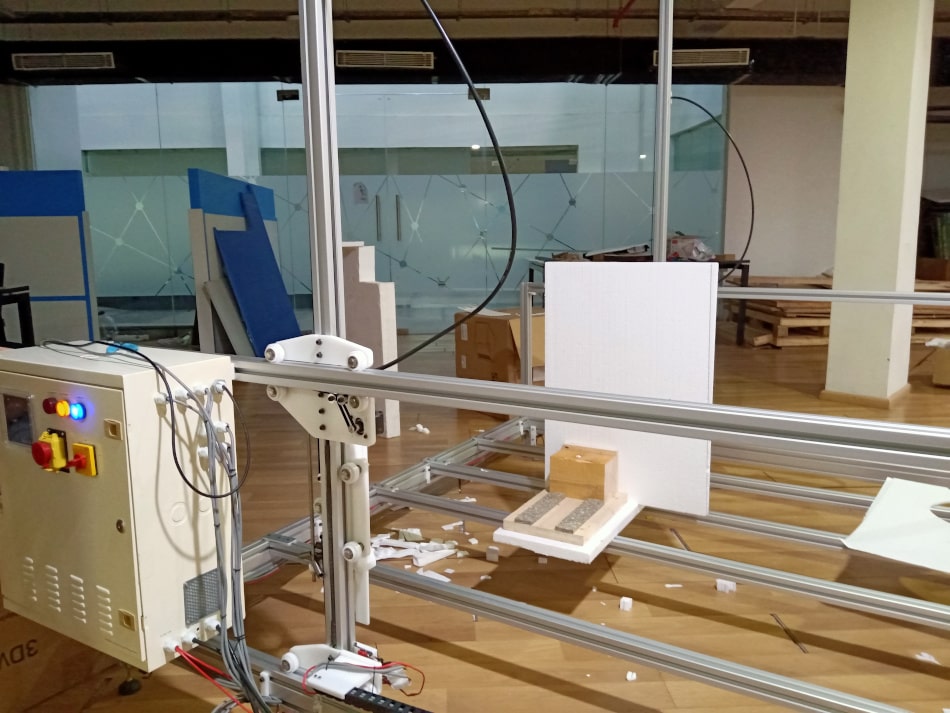
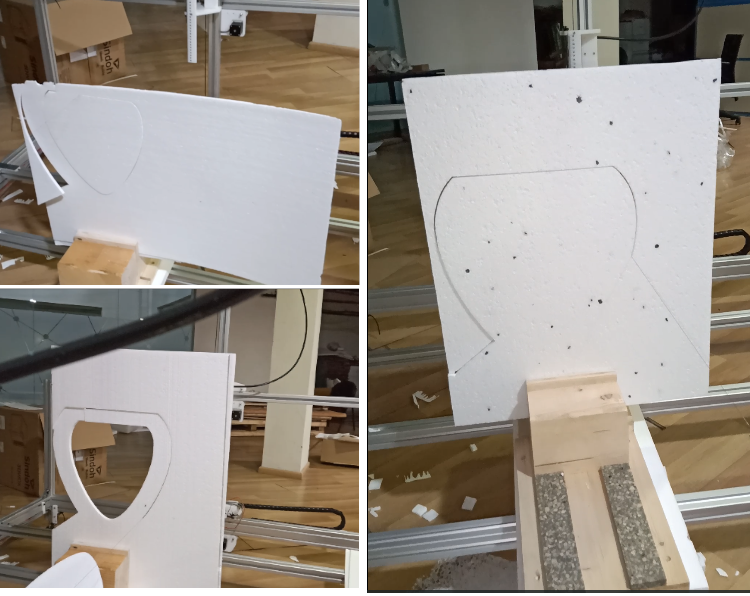
Next step was to mill the thermocol sheet for the mold. Usually in previous years most students used CNC shopbot for this purpose, But this time my instructor showed us a form cutter fabricated in house by our fablab. Rahul fabricated the machine and he helped me to do the task. I gave the dxf file and using the G code generator software for the foam cutter we generated G code for the task. We fixed the 10 mm thermocol sheet vertically by using some wooden blocks. Then using the interface application we started the cutting
“Jedicut“ is the software that we used to generate G code.
Open”Option” window from “Tools”. Review and edit values in
‘ Communication’, - our required mode is G code, communication port etc.
‘ CNC controller’ - set the cutting speed (350 mm/s).
‘Heating’ - define wire cutting material properties. Here it is Nichrome and temperature given was 600F
'Preference ‘- its about language setting.
‘G code’- it about settings given for generating G code files.
Import the DXF file and define the positions of workpiece with respect to wire
The references i followed are
Laying process
First we prepared the resin using part A and Part B for a quantity of 180 grams. Then soaked each fabric
sheet
one by one wrapped one over another on the mold. We tried hard to remove trapped air bubbles while wrapping
it.I took almost 300 grams of resin to complete the entire laying process.
After laying the fabric we placed inside a breathable plastic sheet and over that non woven fabric sheet and then another layer of plastic sheet. The purpose was to give vacuum to the molded composite for removing air bubbles.Next step is to give time for curing. I gave almost 24 hr to cure.
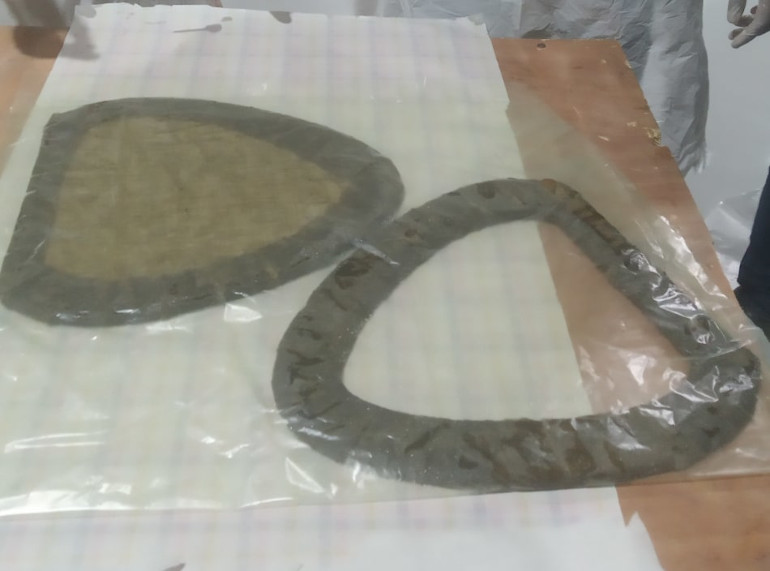
Composite making
Mistake
One part of the composite did ‘t cure properly. I couldn't figure out the real problem, But i believe that some mistake happened when i prepared resin for the second time to finish the laying process.
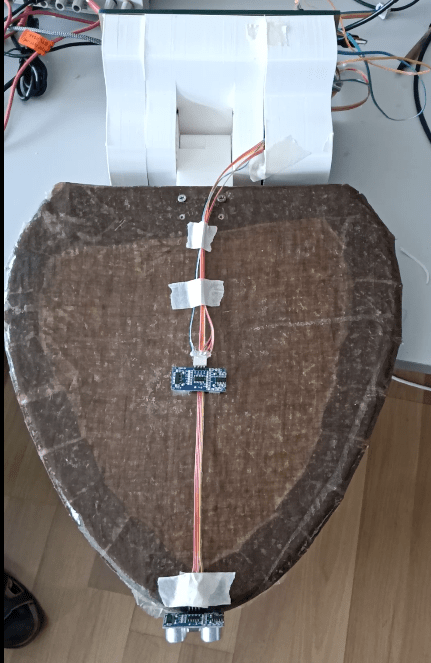
I mentioned that the composite is for my final project . While laying the fabric I forgot to give provision for electric wires for connecting the sensors and boards. I used masking tapes to hide the wires and later I painted the entire covers with white acrylic paint to give a fine finish.
Group Assignment
This weeks group assignment is to make and compare differnt test coupons using composites
Link to Wild card week group assignment page
